I wanted to share my own answer to one of the most frequent questions I’m asked when it comes to working in the design tool: what’s the difference between groups and frames in Figma, and when should you use one over the other? It’s a great question, too! When it comes to switching to Figma, understanding how frames work is one of the first and most helpful things to learn.
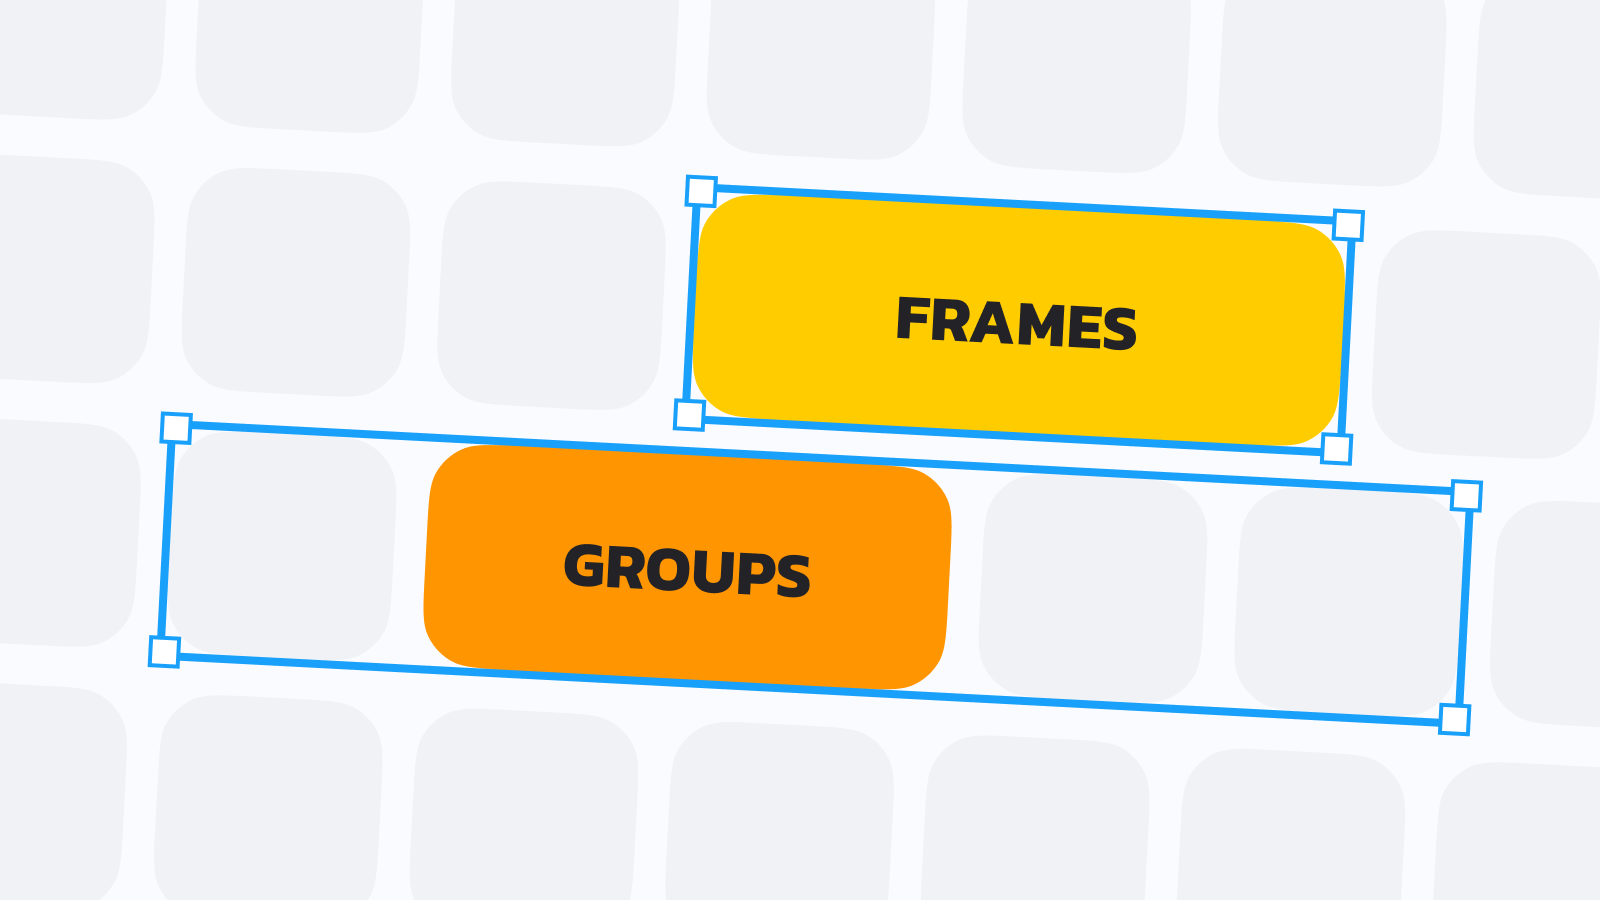
Frames
Unlike artboards within other design tools, the main difference with frames is that they can be nested within one another. This might not seem powerful at first, but realizing that frames allow for constraints to be added and that there can be an endless number of frames within a single screen made this click for me. Constraints are a tool within Figma that create the ability to specify the positioning for all nested items regarding how they grow or shrink when the parent frame is adjusted. For example, if you have a floating action button that should stay pinned to the bottom right, regardless of the device’s width, that button can be placed within a frame, and its constraints can then be set to bottom and right. Now, if the width of the device changes, that floating action button should always stay anchored to that same position, making designing for multiple screen sizes much easier!
Another superpower that frames in Figma have is how they allow for all of the same styling properties that objects and shapes can have. Here’s a quick example: let’s imagine you’d like to create a button. The first thing you might do is draw a rectangle, add text, center align everything, and then group the two together so all layers can remain connected. This method isn’t necessarily wrong, but it does mean taking the extra step of creating the group each time. Additionally, to change any of the button’s stylistic properties, this method requires double-clicking into the group, selecting the rectangle, and making the necessary adjustments. And because a frame isn’t used here, it’s not possible to set constraints on the text within the button, making it more challenging when adjusting the text or its size, if not using Auto Layout.
If we approached creating our button through frames, we’d only need to make the frame, add the proper styling to that frame, and then place our text layer within that frame. Constraints (or Auto Layout) could then quickly be added, and we’d end up with a much simpler layer structure, too.
A fun tip: Did you know that all components in Figma are actually just repeatable frames? This can be seen by selecting an instance and detaching it, which then reveals, of course, a frame!
Groups
Groups in Figma allow multiple elements within the canvas to be combined together into, well, a group. Unlike frames, groups don’t use relative positioning for nested objects, so constraints can’t be used. Groups also are unable to take on any stylistic properties. In short, they exist to keep things tidy.
If you’re creating components, groups can help create clusters of layers that can more easily be toggled as visible or hidden for anyone working with the instance in a design of their own. When I’m working on a design, I tend to use groups whenever I need to move, align, or hide several elements at once, and as I go, I’ll also rename the group to help with layer organization. Finally, groups can be controlled via constraints if the group is placed within a parent frame, and its size will automatically grow or shrink depending on the size and amount of content within the group.